Sunday, 21 April 2013

Salted Caramel Cupcakes

I recently bought The Hummingbird Bakery book 'Home Sweet Home' and have been itching to try out some of the recipes. I started with this one as I have a particular weakness for Salted Caramel. You will need:

Makes 12-16 Cupcakes (I got 17 out of the mix)

For the Sponge
70g Softened Unsalted Butter
170g Plain Flour
250g Caster Sugar
50g Cocoa Powder (recipe says to sift but I didn't bother)
1 tbsp Baking Powder
1/2 tsp Salt
210ml Whole Milk
2 Large Eggs

For the Frosting
670g Icing Sugar
210g Softened Unsalted Butter
70ml Whole Milk
30g Tinned Caramel (or Dulce de leche)
Pinch of Sea Salt

For Filling and Decoration
100g Tinned Caramel (or Dulce de leche)
Pinch of Sea Salt

1. Preheat oven to 170ÂșC and line your muffin tin with paper cases

2. Using an electric whisk or freestanding mixer, mix the butter, flour, sugar, cocoa powder, baking powder and salt together. The recipe says they should form a 'crumb like consistency', mine didn't. It seems very dry at this stage and tends to cover your kitchen in a coating of flour and cocoa powder. I gave up and added some liquid when it was clear it wasn't going to come together any more.

3. Mix the milk and eggs together by hand in a separate bowl. Pour half of this into the flour mixture and mix until thoroughly combined and smooth. Add the rest of the liquid and mix on a high speed until smooth and combined again.


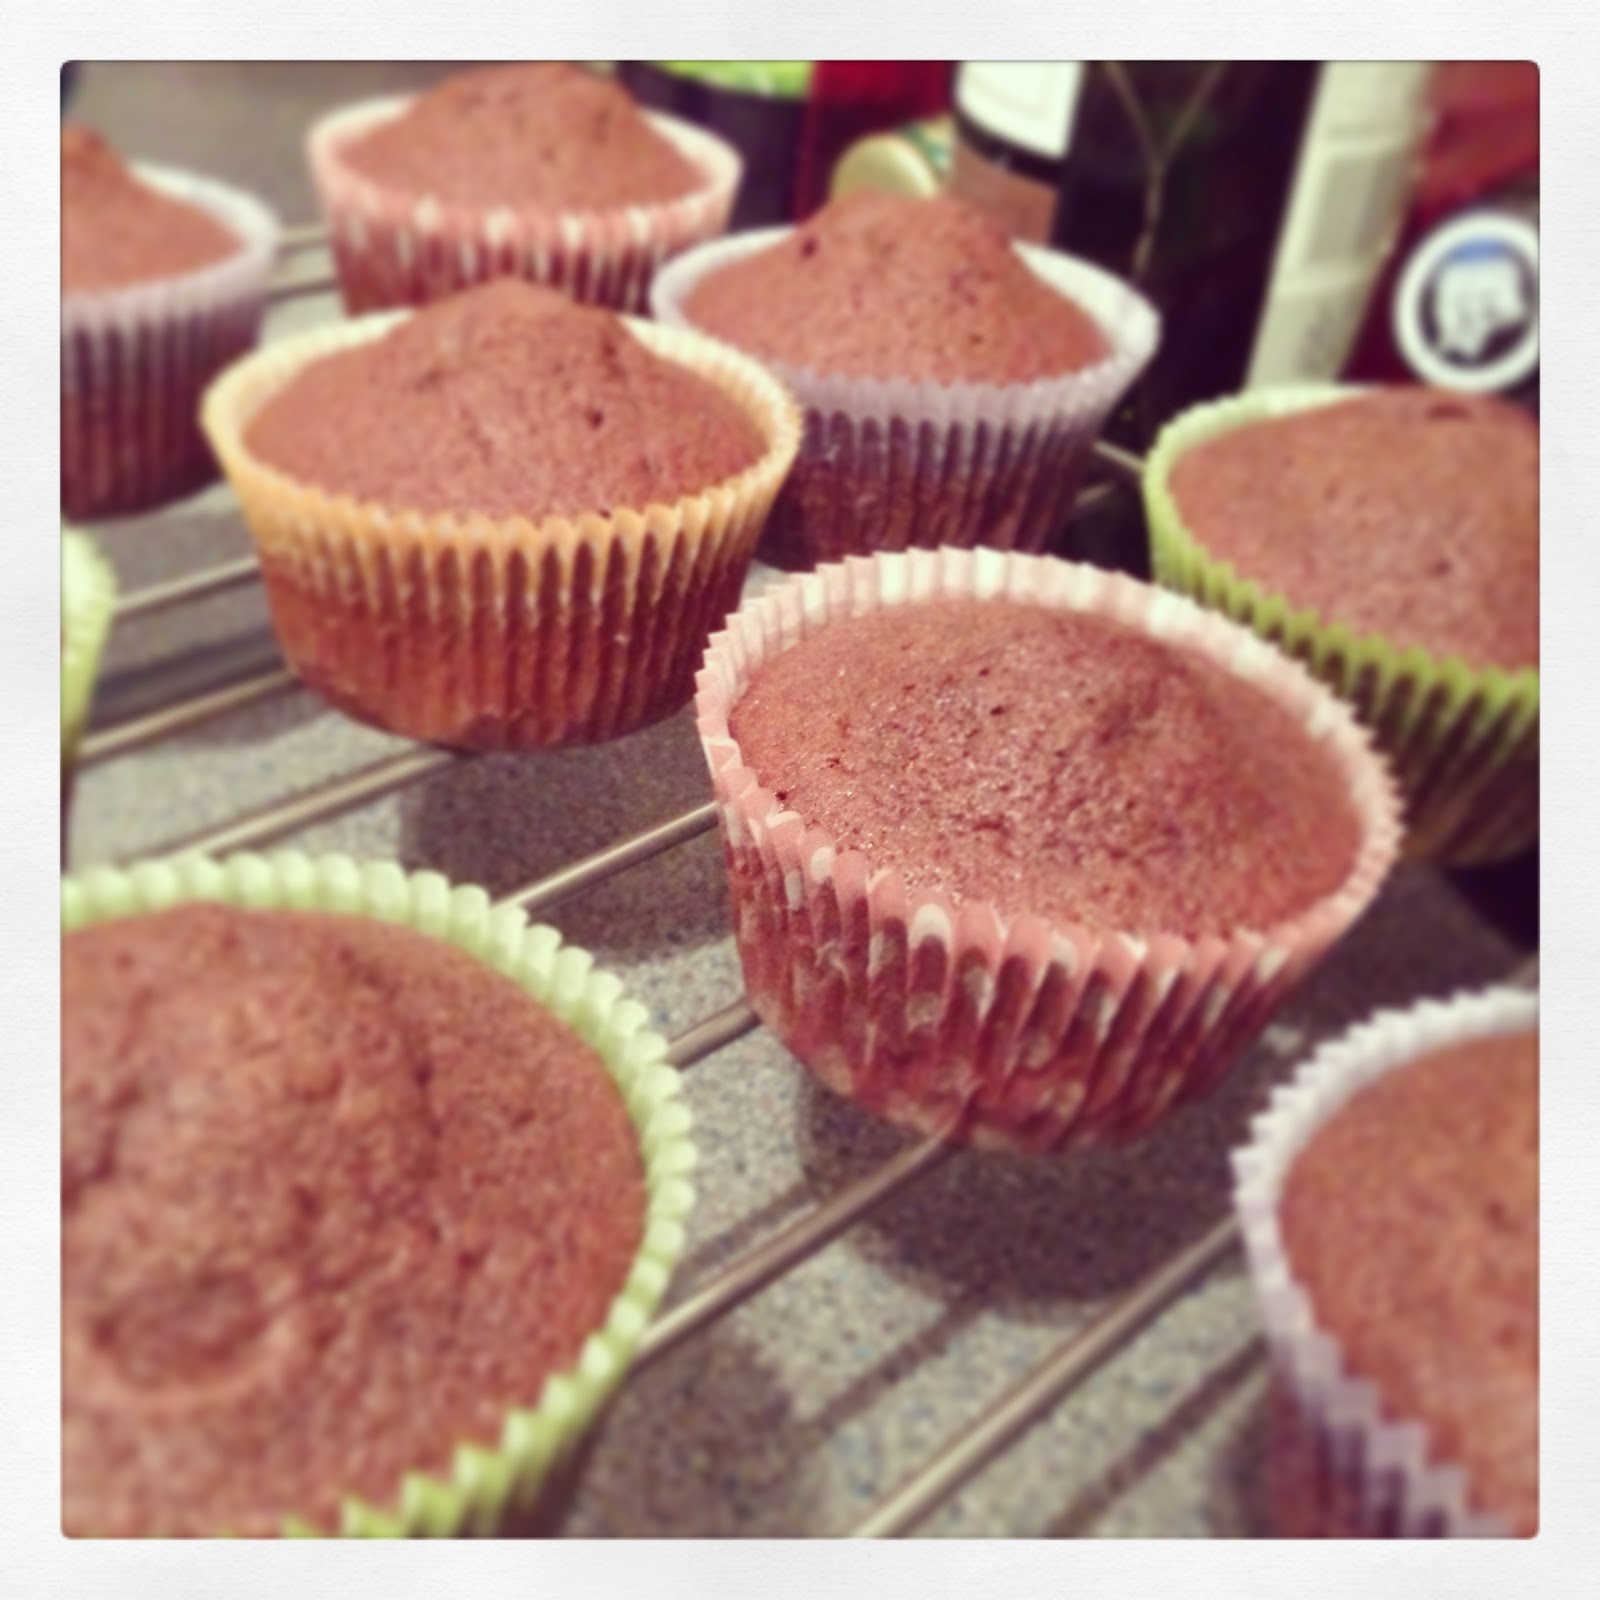
4. Spoon the mixture into your paper cases. The book recommends using an ice-cream scoop to make sure you get even cupcakes, this is a great tip and works well. The cases need to be about two-thirds full.

5. Bake for 20-25 mins (mine were done after 20) until the sponge bounces back when lightly touched. Remove from the tin and leave to cool on a wire rack.


7. To make the frosting mix the icing sugar and the butter together on a low speed. The recipe says they should combine but again, I found it was far too dry and just resulted in my kitchen being covered in a thin layer of icing sugar. I gave up and added a little of the milk to help bring it together.

8. Gradually add the rest on the milk while mixing, and then add the caramel and sea salt. Mix thoroughly and turn up the speed, beating until light and fluffy.


9. Once the cakes are cool, use a sharp knife (I found a fish knife was ideal) to remove a circular section from the top of each cupcake, about 2cm wide. I then used a teaspoon to hollow out the cake a little more before putting about 1 teaspoon of caramel into the hollow.


10. Replace the cut-out top of the sponge and press down gently so it sits as it was before.

11. The recipe says to spoon the icing and use a palette knife to swirl, I decided to pipe mine instead.


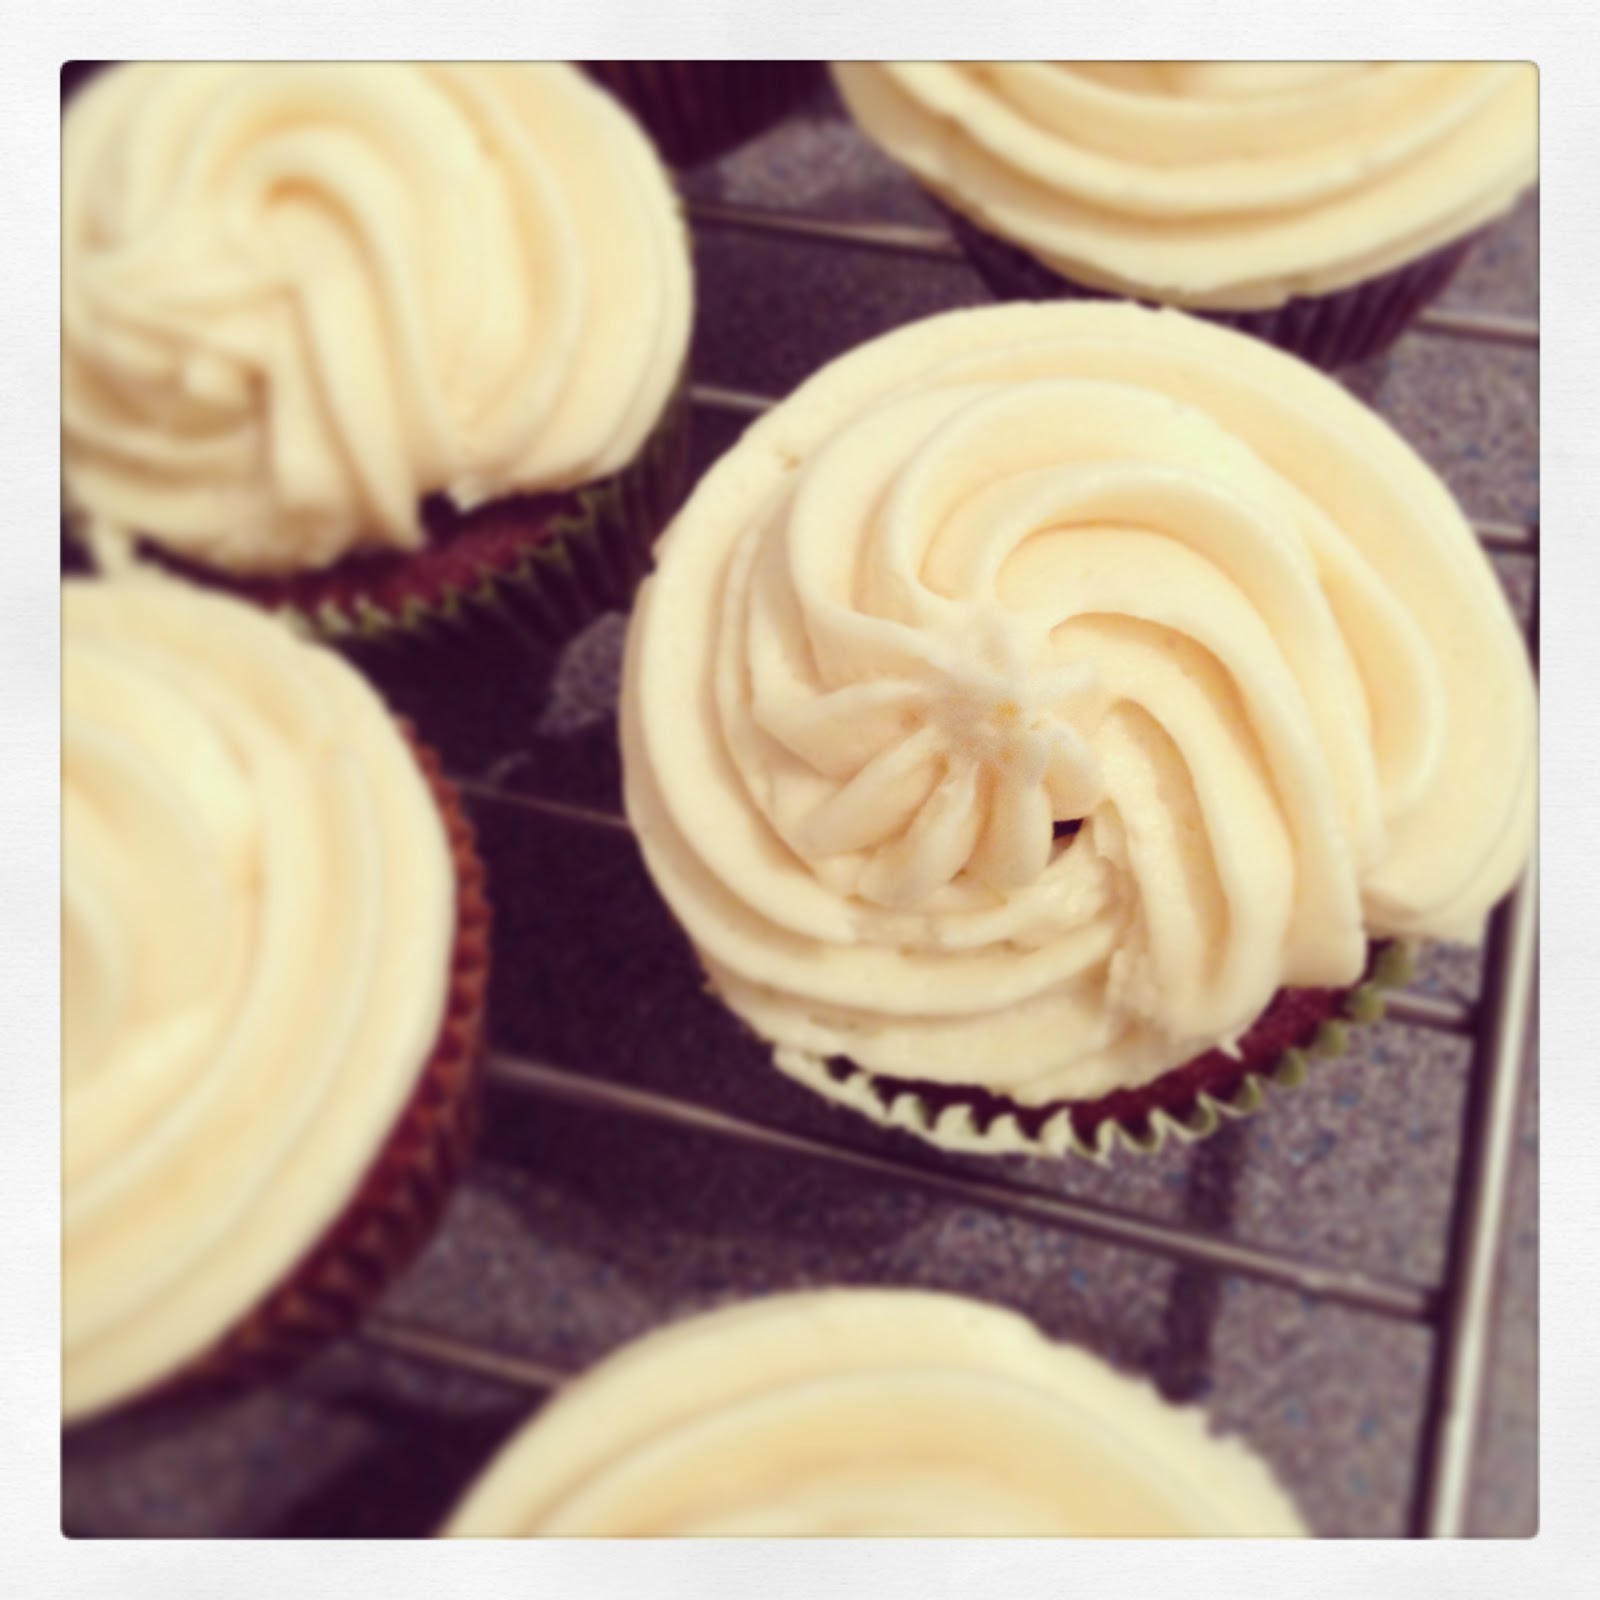
12. Swirl a little of the caramel over each cupcake, it is a little solid when straight out of the tin but it becomes runnier with a little stirring or a few seconds in the microwave if necessary, although make sure it doesn't get too hot. Finish with a very light sprinkling of sea salt.


Tuesday, 2 April 2013

Hello Kitty Cake Pops

I made these recently for a friend's 30th birthday and they went down a storm. Everyone who arrived assumed they had been shop-bought and I had to explain the process of making them about 20 times. I don't have any step by step photos but the method for decorating is as follows:

You will need:

  • Cake Pops made in your machine (I have the Sweet Treats Cake Pop Maker from Lakeland) as per the instructions. I used the standard sponge but chocolate would be great too.
  • 1-2 large bars of White Chocolate or White Chocolate Flavoured Cake Covering (amount varies depending on how many you need to make)
  • 1-2 tablespoons of sunflower oil (if using White Chocolate)
  • Cake Pop sticks
  • White Chocolate Chips
  • Heart-Shaped Sprinkles
  • Black, Red and Yellow Writing Icing Tubes

I used a cardboard cake stand to display them (which can usually be found in larger supermarkets) and made my own holes by making a cross with a sharp knife.

1. Make your cake pops in the machine.

2. Dip your Cake Pop Sticks in a little melted White Chocolate and insert them into the cake pop taking care not to push the stick too far through and out the other side. Try to estimate 1/2 to 3/4 of the way through the cake pop.

3. Use a little melted White Chocolate to stick on the White Chocolate Chips as 'ears'.

4. Put them in the fridge to chill for around 20 minutes or until the chocolate is set hard.

5. Melt the White Chocolate and put into a tall slim container (for easy dipping). Leave it to cool so that it won't melt Kitty's ears (otherwise it's Bye-bye Kitty).

6. If you are using White Chocolate and not the cake covering you might want to add a little sunflower oil and stir in well. This stops the Chocolate from setting too soon and also thins it out slightly for a smoother covering.

7. Dip the cake pop into the White Chocolate. Try not to swirl it around too much, use a spoon to help cover it if needs be. Let all of the excess drip off while tapping it gently against the container and turning constantly. Don't be tempted to rush this bit, if you do you'll end up with Chocolate dripping all down the stick. Only stop when you're sure all of the excess has dripped off.

8. Once you've covered all of the pops, chill in the fridge until set. Repeat the covering again in step 7, it's a bit of a pain but well worth it for a professional finish. Chill again until set.

9. Use a little melted White Chocolate to stick on two Heart-Shaped Sprinkles in front of the left ear, point to point to make the shape of the bow. Dot a little of the Red Writing Icing where they meet.

10. Use the Black Writing Icing to draw your whiskers and eyes, this does take patience and a steady hand.

11. Dot the nose on with the Yellow Writing Icing.

12. Revel in the glory of having made the impressive pops and enjoy biting Kitty's head off!


Proper Meals

As well as cakes and baking recipes I will be sharing recipes for proper meals here.

Contact Me

Feel free to contact below the recipes with any queries and I'll do my best to answer. You can also email me on butterfingerslondon@gmail.com

Focaccia Bread

The husband and I were having spaghetti bolognese for dinner and I wanted to make some bread to go with it, given my new found confidence after the Hot Cross Bun success. I discovered that Focaccia is a really simple bread to start with and doesn't need too many hours of proofing compared to some other breads. Again, I made this before I decided on the blog so have not done a step by step.

I reverted to Mr Hollywood again (he makes me feel all safe and warm) for the recipe on the BBC Good Food website as I had all of the ingredients in the cupboard.

I also found this blog by Kerry Cooks which was very helpful in reassuring me on the texture of the dough. Yes it is supposed to be that wet, no you shouldn't add more flour and yes, it will stick all over your hands and all over the work surface. Deal with it and keep going.

I added some dried rosemary to mine which was delicious, I can't wait to try it again with some toppings, maybe olives, sun-dried tomatoes and feta or red onion and goats cheese. Mmmm.

Hot Cross Buns

As Easter has just passed and I'm all for being topical (if a few days overdue) I thought I would share my first ever Hot Cross Bun baking experience. Yes, you can buy six of them in a pack for 99p but where's the fun in that? And they probably contain horse or anaconda something. Probably.

I watched the 'Great British Bake Off's Easter Masterclass' so I went with Paul Hollywood's recipe which I later found here on the BBC Good Food Website. I haven't done a step by step for this as I made these before I decided to create this blog but can vouch for Paul's recipe (as if he needs my approval!) and tell you that it does work.

It's worth noting the comments below the recipe as a lot of people find that the cooking time needed was slightly less than the recipe states, I found 13-15 minutes was perfect. I also only made 12 buns as they fitted more easily on my baking tray in rows of three. I didn't bother to sieve the Apricot jam.

I am usually rubbish at anything bread-based but I found this recipe really easy to follow and was delighted with the results. Delicious warm from the oven and buttered or toasted and buttered later on. Yum.